Bases
This page should be a reference of all the different things that you can do to your miniature bases.
It starts with some of the older bases I did way way back.
Things I wouldn't do like this again.
However I learned a lot through the years and there might be some things that you haven't seen before.
At least it can be taken as a picture book for all the things you can do with tabletop bases.
Earth

This is an example of the old default green base.
Thirty years ago GW had all it's miniatures on this kind of bases.
It's quite easy to make it.
First paint the base with glue or thick paint and then dip it in sand.
Any sand will do and I used to buy bird sand.
The sand for parrots is a little coarse, the sand for smaller birds is finer.
I now switched to fine dry earth from the garden.
It already has the right earth color, different sized particles and is even more readily available than sand.
After the glue is set paint the whole thing with green (e.g. gobo green) and then highlight with yellow.
If you use water resistant wood glue the sand won't fly away when painting it.
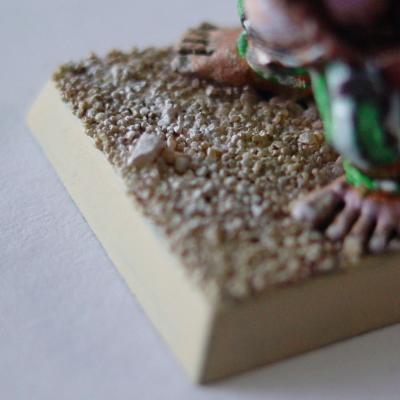
Making this base is very easy.
Make a "default green base" but instead of green use "bleached bone" and highlight with white.
Easy but effective and perfect for your Khemri.
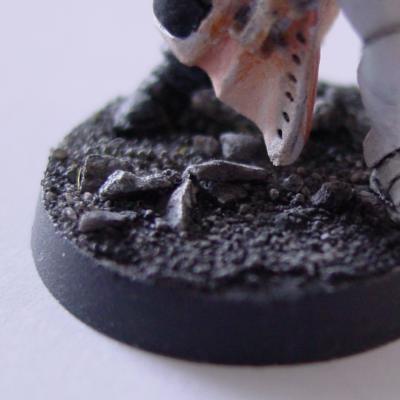
The ash base is nearly the same as the desert base above.
This time I used some larger pieces of rock from your friendly model-railroad shop.
The colors are black, drybrushed with gray.
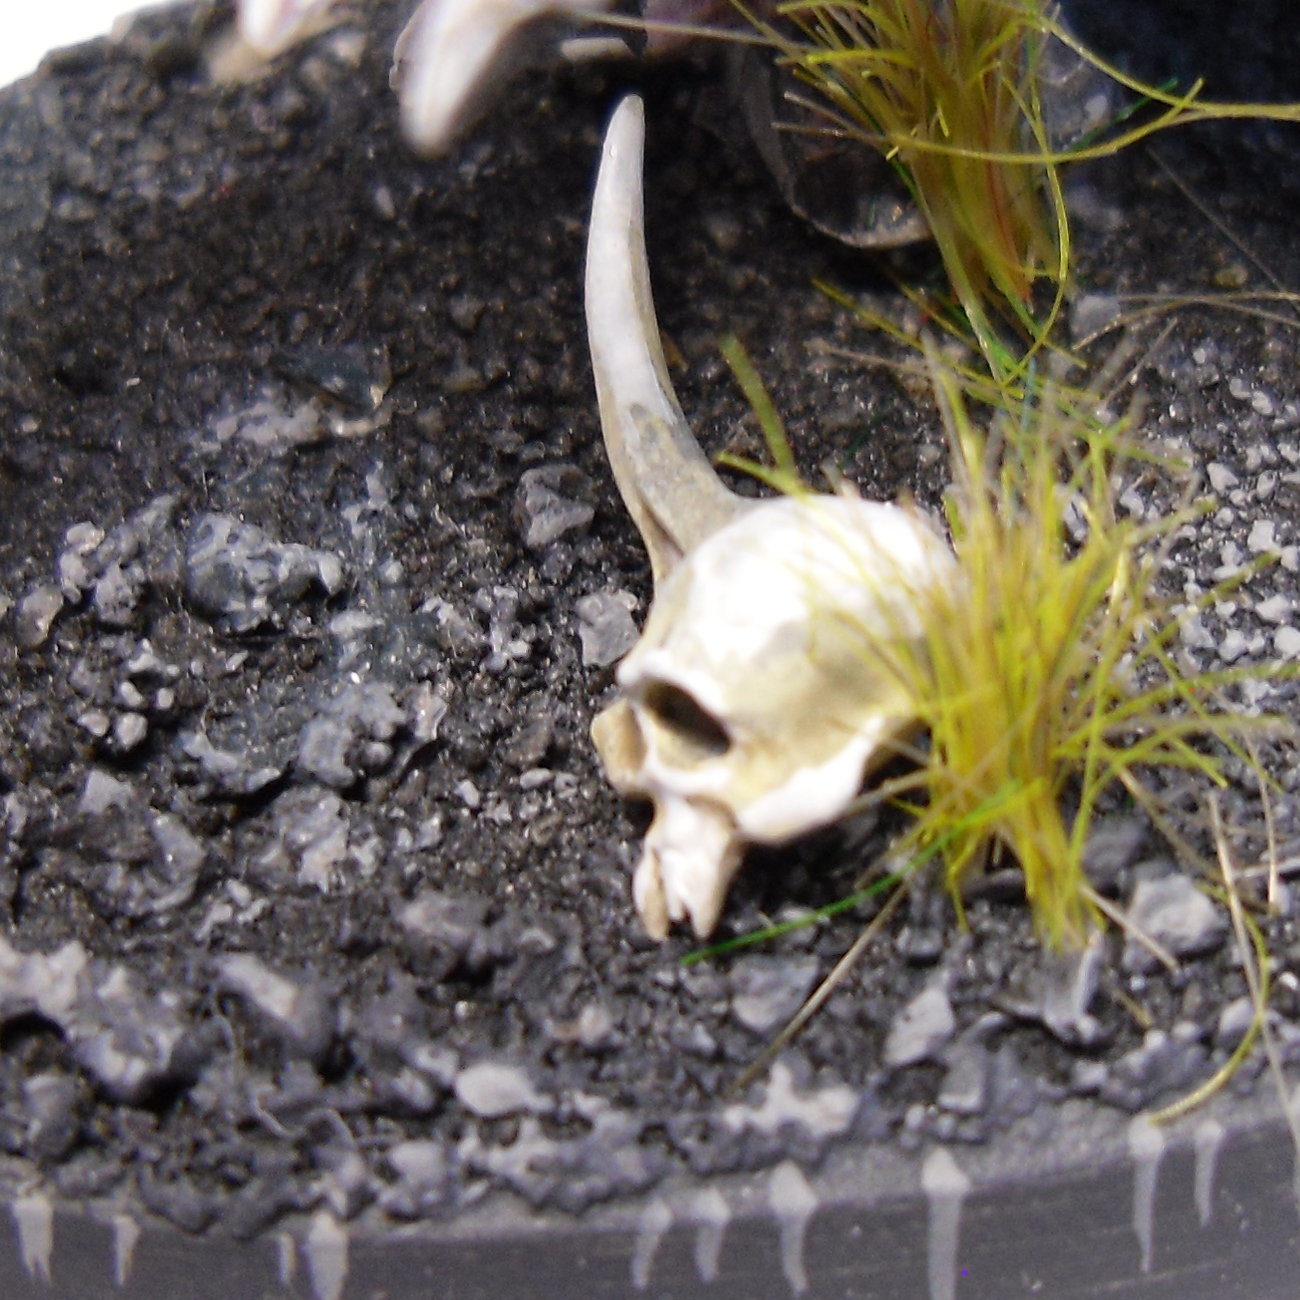
Again bird sand (with some larger sand pieces) in black, drybrushed with gray.
In addition a skull from the GW skulls box plus static grass.
Sometimes a combination can also look good.
Here I used black, brown and some static grass.
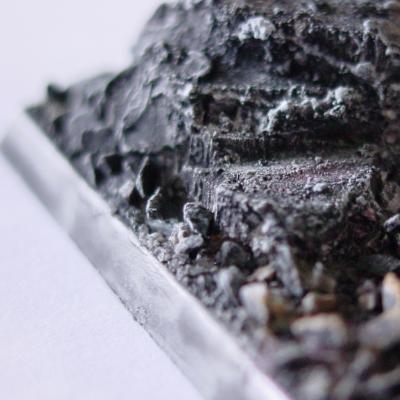
Here I used plaster to generate the rough surface of natural stone.
The plaster was painted black and drybrushed with gray.
Looks really bad if you ask me.

This one is a little bit of sand but mainly the crackle paint from GW "Agrellan earth" over a black base.
Highlighted a little with white.
In addition I used a Skull from the GW skulls box plus some static grass.
Ice
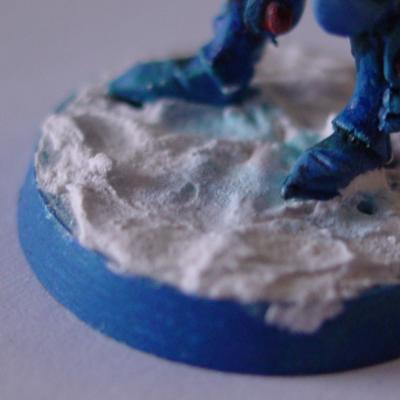
For the ice base I used normal plaster.
The plaster was mixed and then used to coat the whole base.
I used some watered down blue color to give a little shadow effect.
The side of the base is painted with ultramarine blue.
Another ice base.
This time I used two pieces of balsa wood and milliput to sculpt some old buildings.
Covered with arcane runes of course.
This time I used little pieces of acrylic glass to give the effect of sharp jagged pieces of ice.
I got the acrly from my local home improvement store and cut it with a pair of metal scissors.
You can further improve the ice effect by using metallic flitter that you can get from a cosmetic store.
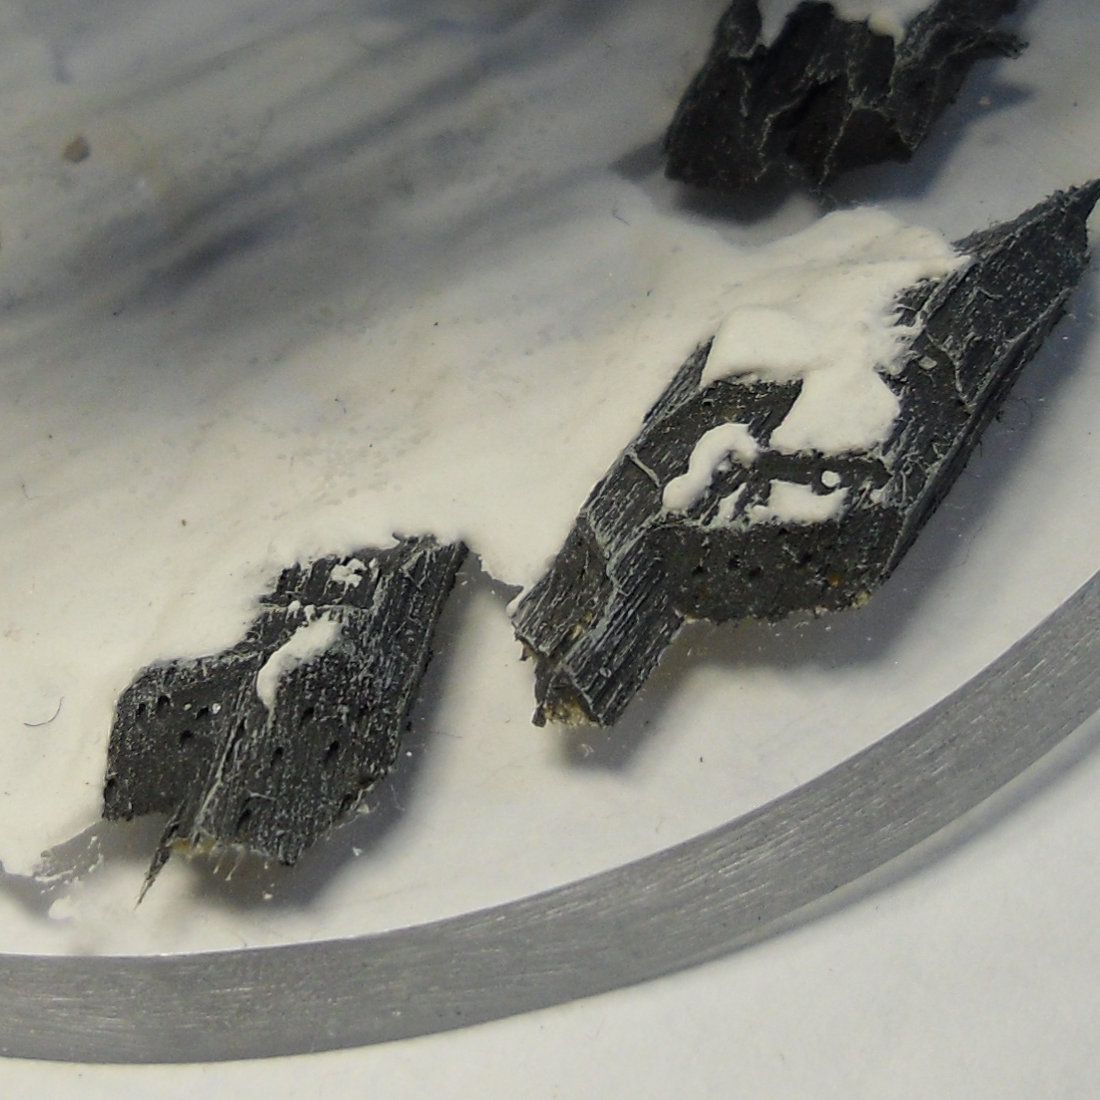
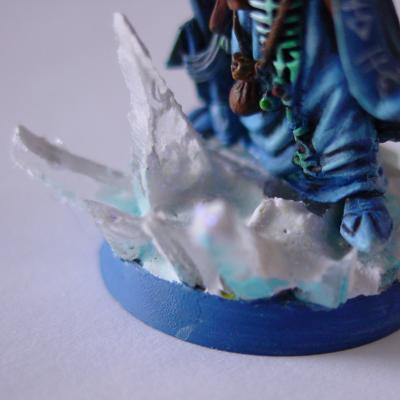
I evolved my ices bases a little bit.
This is an acrylic glas base I cut myself.
The rocks are balsa wood painted in black and highlighted in gray.
The snow is white plaster again.
Plants
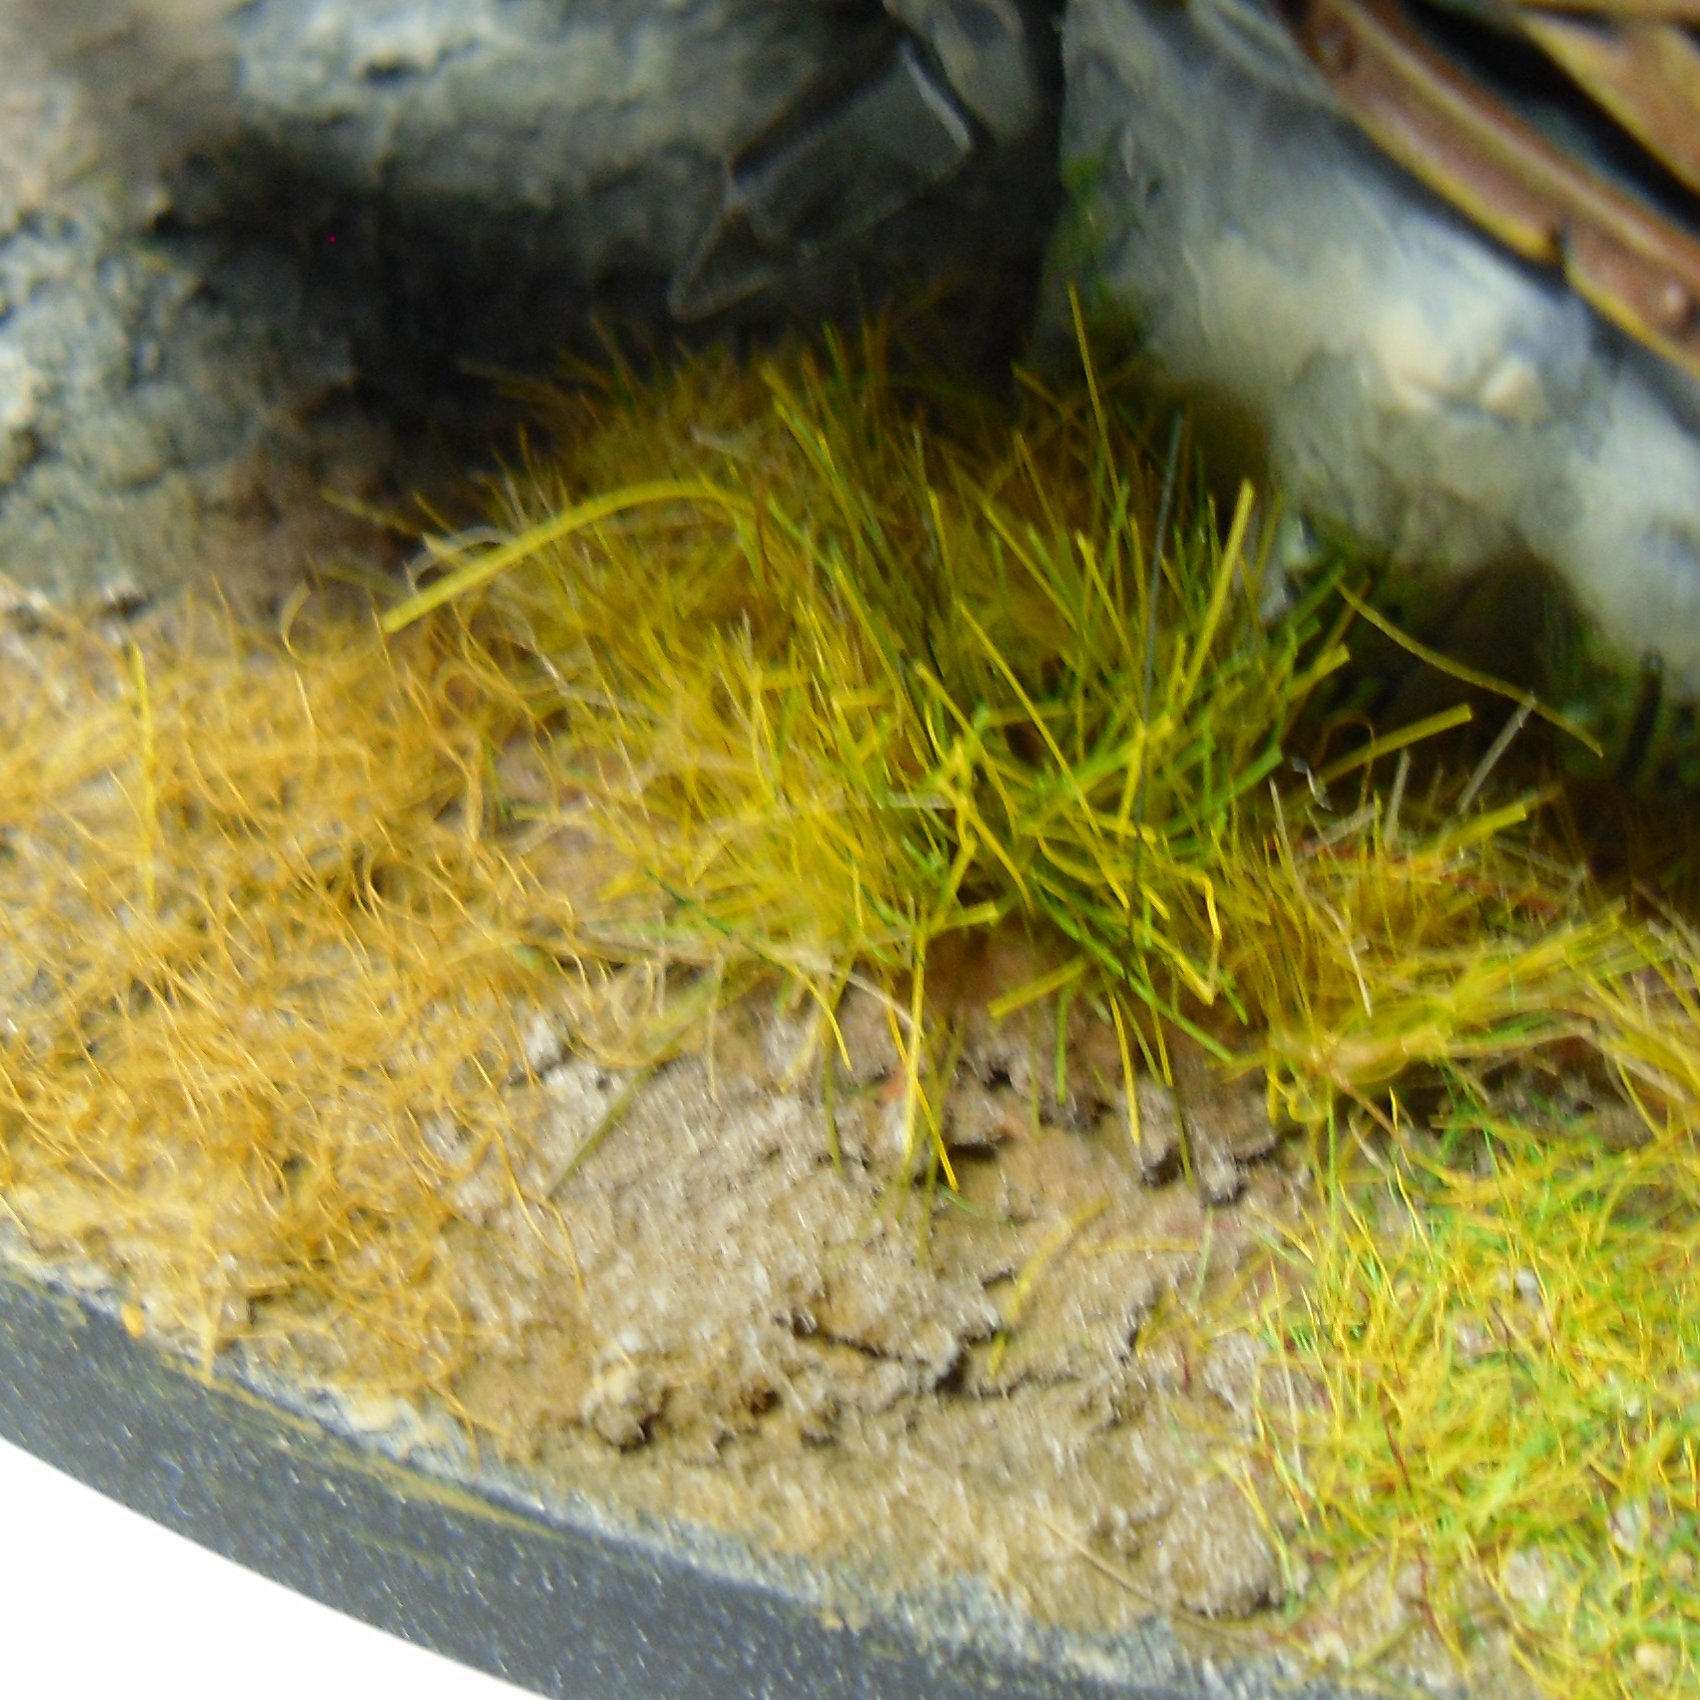
This is fine dried earth (from the garden) painted in different brown tones and highlighted.
In addition we have three types of static grass.
After I took the picture I noticed that the earth looks really flat.
I should have made more contrast by darker browns and stronger highlights.
Special
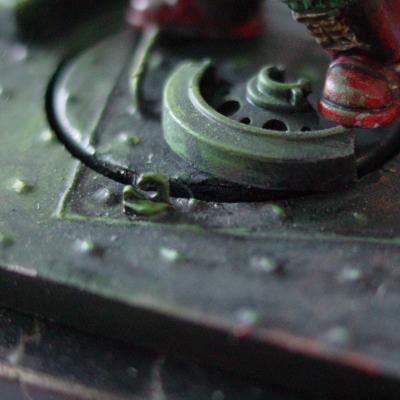
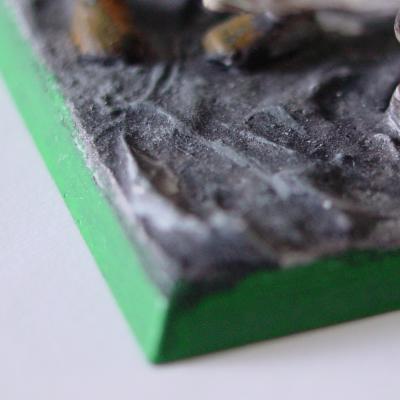
This is the base for my 2003 golden demon entry.
First I used some aluminium foil that was placed between a paper with a square pattern and a soft cartonage.
With a blunt tool I pressed a regular pattern in the foil (the squares helped).
After that I pressed a rectangular line in the foil.
The foil was turned around and glued onto the base.
From an old model-tank kit I used some pieces and glued them onto the foil.
The whole thing was sprayed black and then highlighed with green and orange.
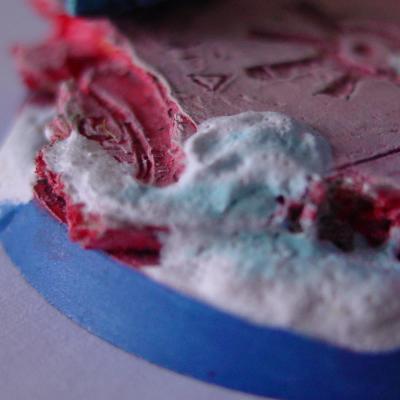
The blood base is sculpted with green stuff and some pieces from the zombie box.
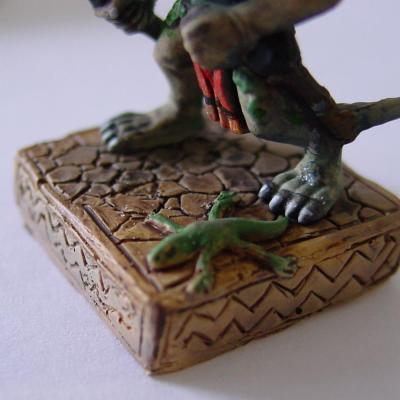
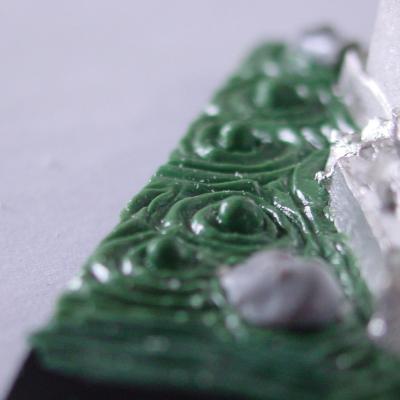
This base was first sculpted with milliput and then casted using silicone rubber and bi-resin.
The base was painted in brown and drybrushed with "bleached bone" and white.
Can you imagine a complete lizardmen army with this kind of bases?
Maybe you should look here: Cool mini or not
Here a short howto:
- Don't use miliput. Use plaster or something similar. Cast a small plaster rectangle 2x2cm and file it clean. You can make a really clean rectangle out of plaster where my milliput thing has round edges.
- Use a needle or small knife to scribe the details in the rectangle. This should be easy as plaster is quite soft.
- Paint the base. Color doesn't matter, you just want to seal it for the following step. I propose a last thin cover of oil or wax. Car wax maybe.
- Lay the base in an empty blister and pour (very very slow) the silicone rubber over it. Shake it a little bit or bang it on the table. You don't want air bubbles in it (that's why you pour it slowly and don't stir it afterwards)
- Wait until finished and remove the base. Now you can cast as many of them as you like.
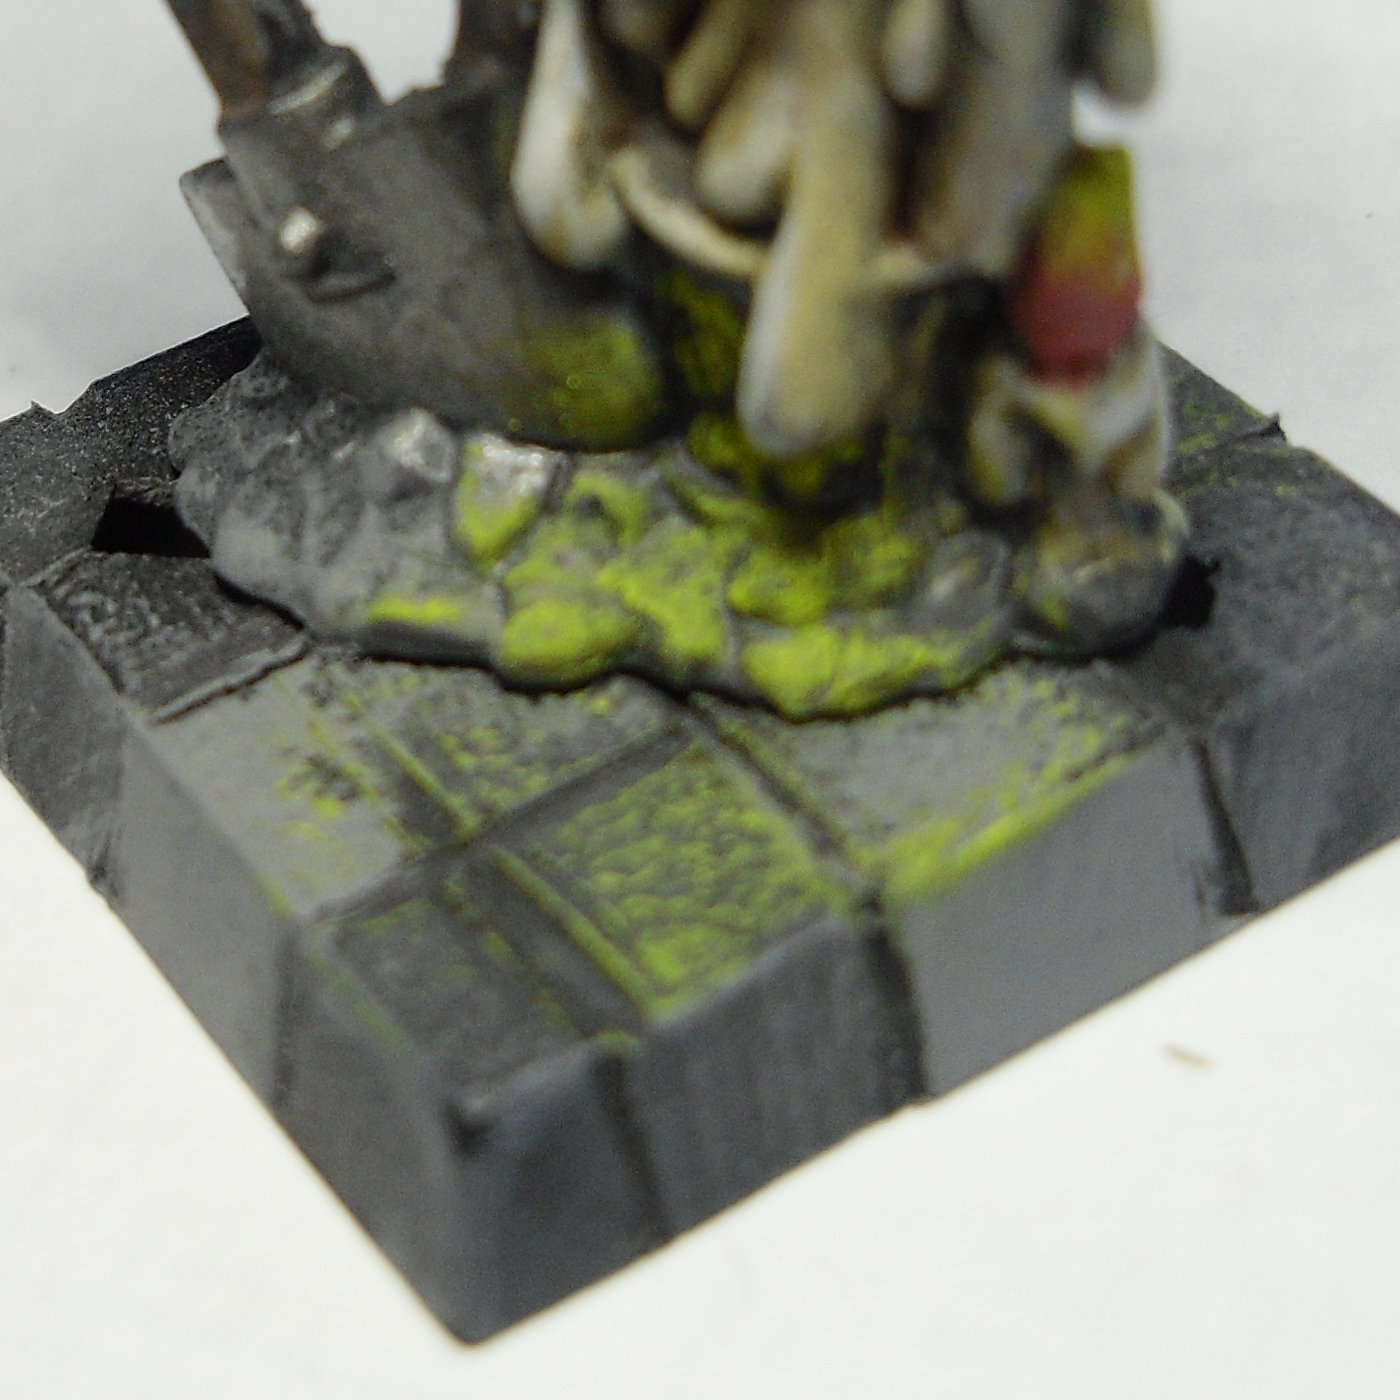
If you don't want to invest so much time you can do the following:
Take a triangular file and file a pattern like you see in the image into your plastic bases.
It just takes a couple of minutes per base and you need no additional material at all.
The stone pattern is painted in different shades of gray, black wash and light gray highlights.
I tried some in-model-lightning with the yellow hightlights but in the picture it doesn't look nice at all.